

Using the Silhouette cutting machine to print and cut stickers is much easier than cutting them out manually. I use my Silhouette Portrait 3 cutting machine, but you can also use Cameo.
STEP 1. PAGE SETUP.
Open the Silhouette Studio on your computer.
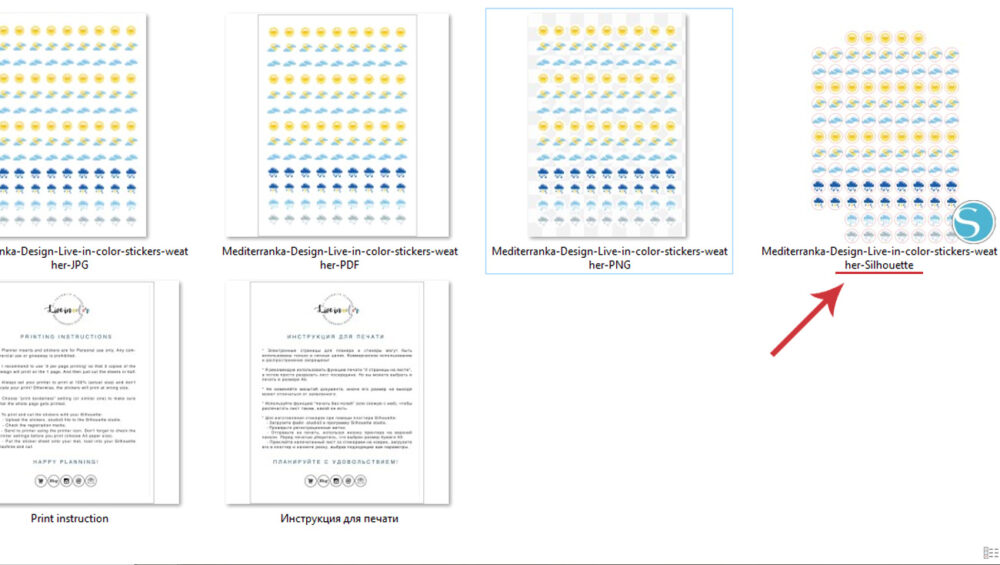
In the folder with stickers go to the folder with the Silhouette Studio files and open one, which you want to print and cut.
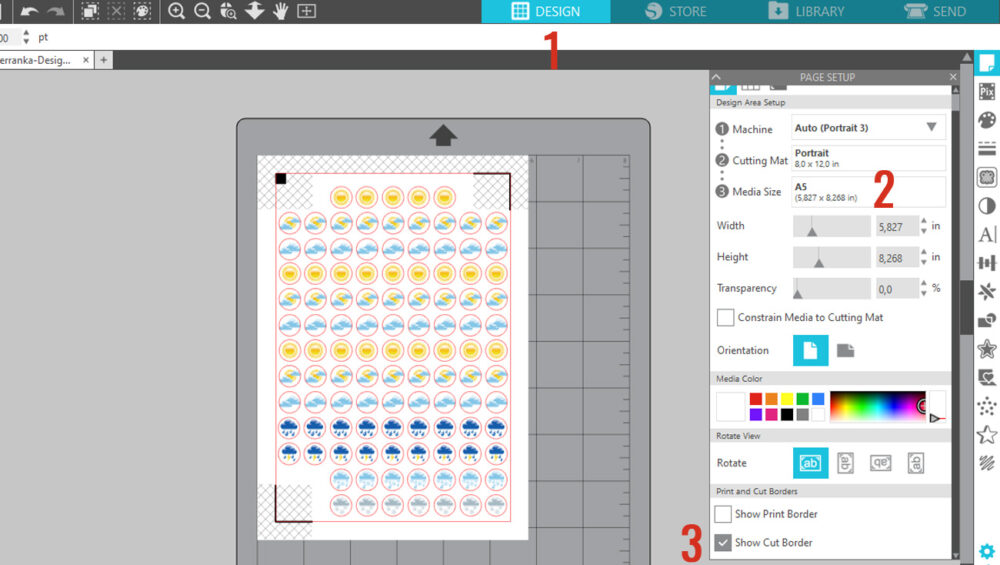
Open the Page Setup tool from the right sidebar. Change the media size to A5 and check the box to show cut border.
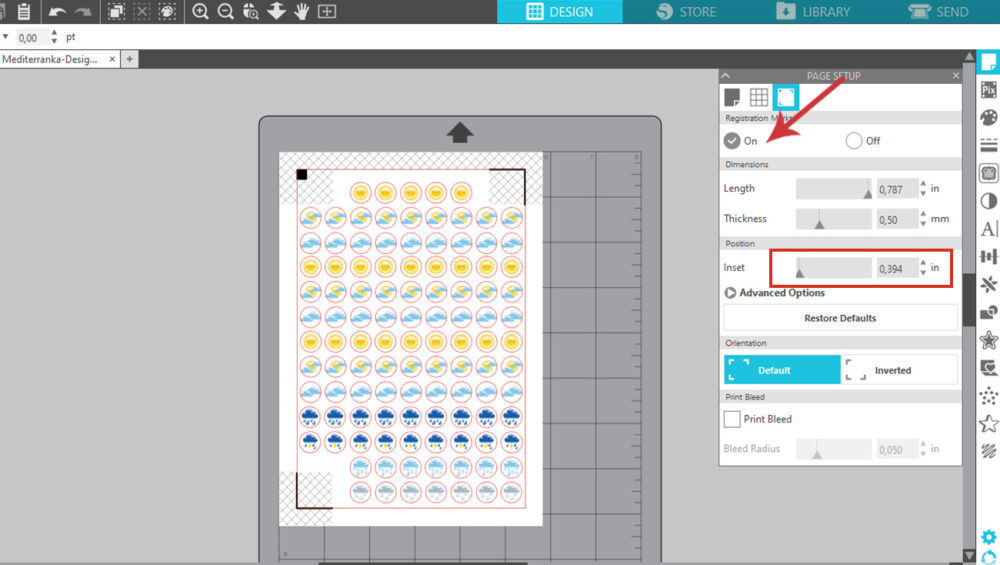
Turn on the registration marks.
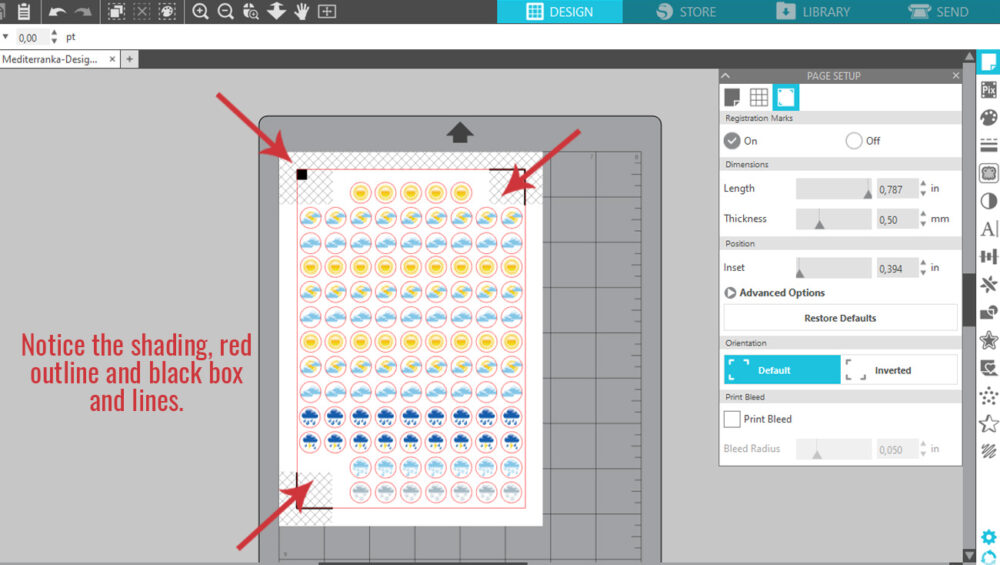
Notice the shading, red outline and black box and lines.
STEP 2. PRINT.
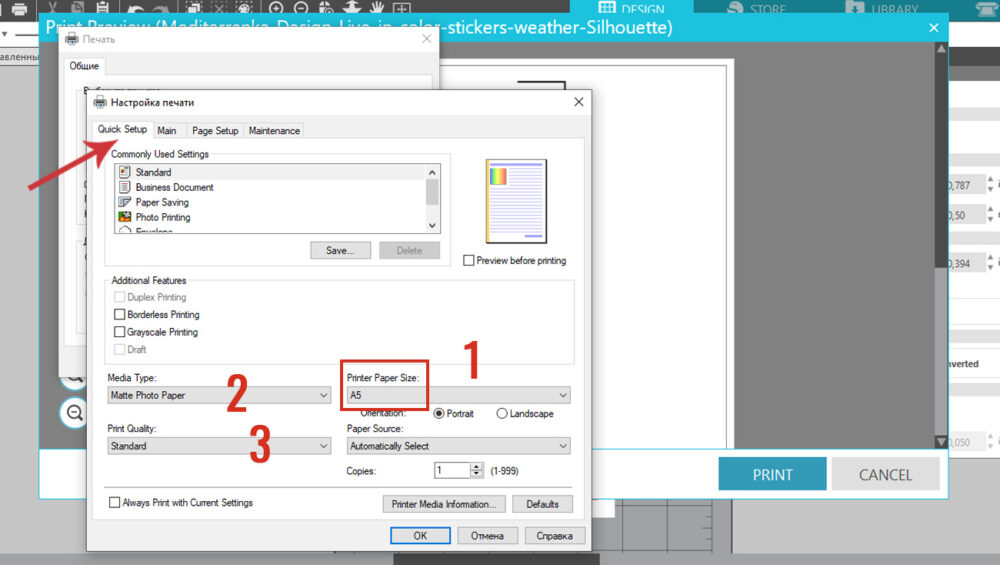
Place the sticker paper in the printer tray. Click the Printer icon along the top toolbar of Silhouette Studio.
Click preferences. Choose A5 as the paper size, your paper type and print quality.
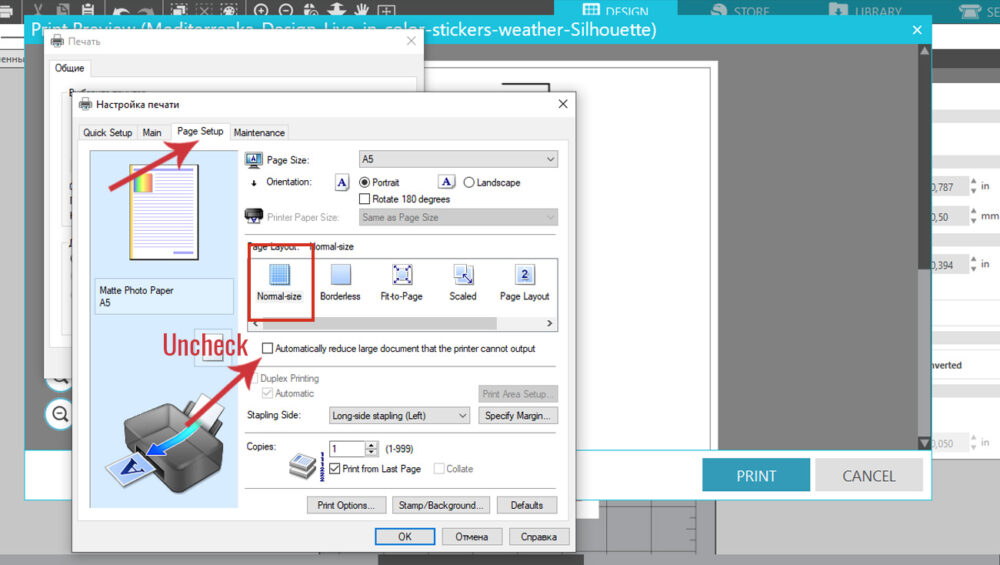
Go to ''Page setup'', choose ''normal size'' and uncheck the ''reduce'' box.
STEP 3. CUT.
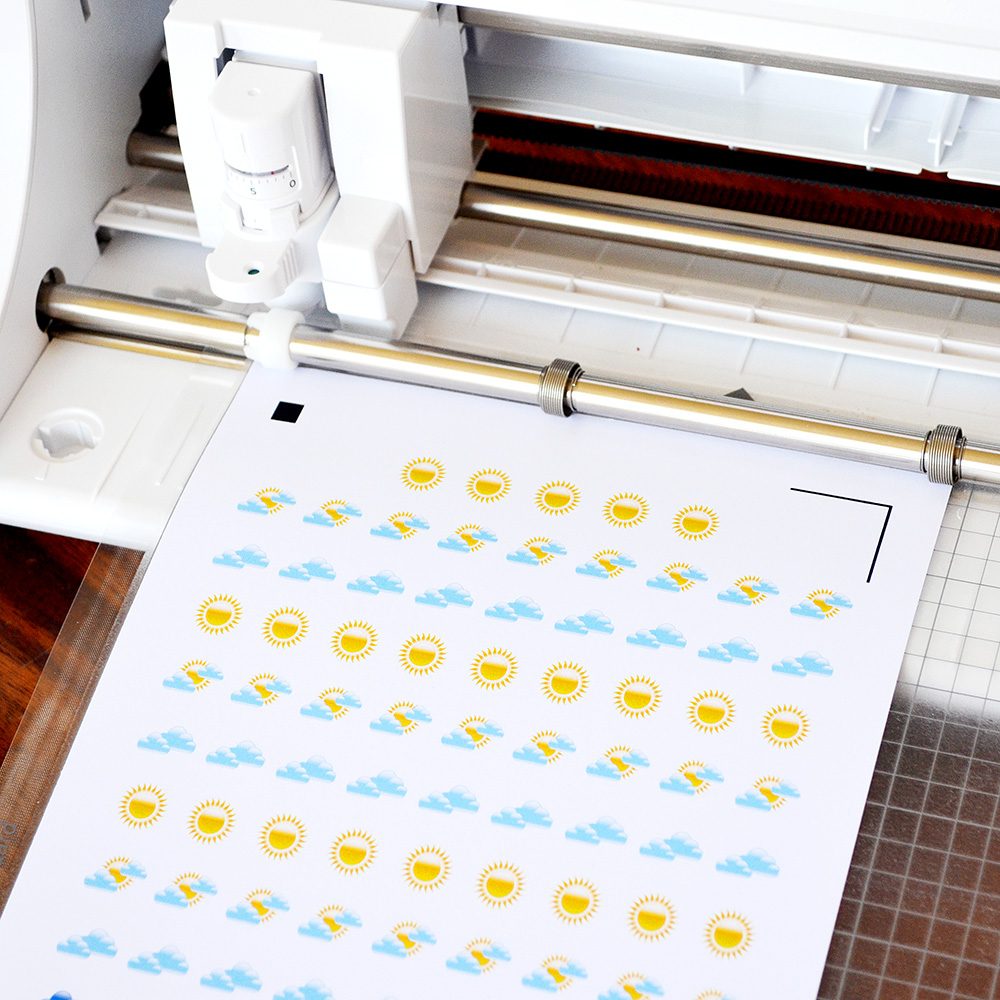
Put the sticker sheet onto your mat and load into your Silhouette machine. There are two ways to cut out stickers. You can cut through the top layer so the whole sheet stays intact or cut them as a lot of individual stickers.
Go to ''SEND'' pannel. I usually choose ''STICKER PAPER - GLITTER'', ''CUT'' and ''AUTOBLADE'' and than set other settings (see picture).
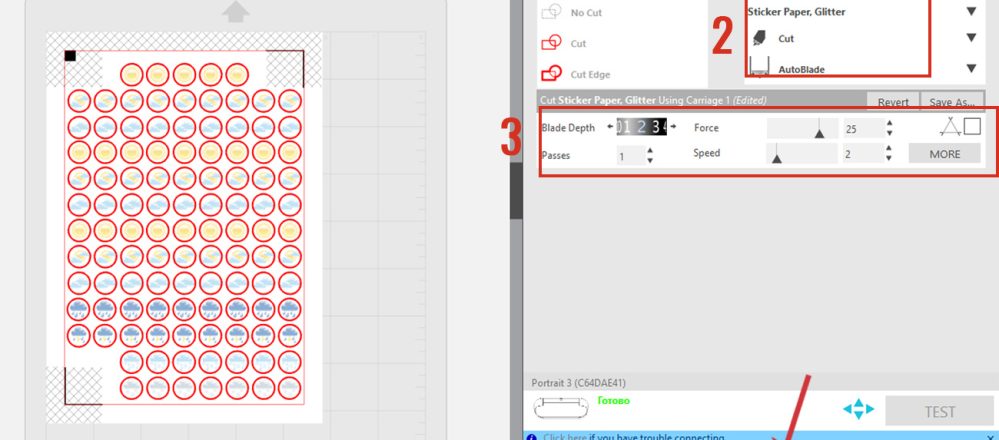
If you want to cut your stickers individually, just increase the blade to 3 and play with force (depending on the condition of your blade and type of sticker paper).
Click ''SEND''. The Silhouette machine will start to search for the registration marks. Once the registration marks are successfully found, the cutting will begin.

IMPORTANT THINGS TO KNOW
> Always use the latest version of Silhouette Studio.
> The registration marks must be printed clearly or properly. The printer may be printing the lines too lightly if the ink or toner cartridge is low, or it is possible that the printing preferences are set to a lower quality. The Silhouette’s optic scanner is also unable to read marks that may have been smudged or have bled into the material in use.
> Check the Registration Mark Format type. If using the Cameo or Portrait model, then the Type 1 format should be used. If using any other older Silhouette model, the Type 2 format should be used.
> Make sure that there is a good light source.
> Before printing always check the file to see if any part of the image falls into the “no-print zone”.
Happy planning!
Olesya Rudenko Manaz
Hi there! I’m a graphic designer and a big fan of planners, journals etc. I enjoy creating quality supplies to make planning process easy and fun for you.
Very useful tutorial, thank you!